Ontario Homeowners Guide
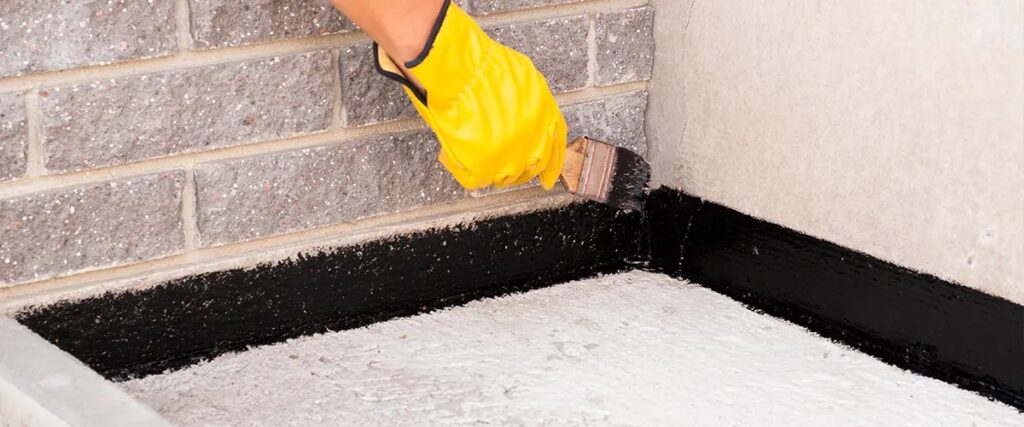
Hairline foundation cracks are extremely common in older homes with basements. Most of these cracks are non‑structural, meaning they’re caused by normal settling and exposer to freeze‑thaw cycles.. However they might be the source of moisture leeching into your basement creating humidity with a musty smell. The good news is you can seal them yourself in under an hour. If the crack is actively leaking, stop and diagnose the source of the leak first, Basement Moisture Inspection guide
This guide shows you how to identify a hairline crack, confirm it’s safe to repair, and seal it properly so moisture doesn’t enter your basement.
What Counts as a “Hairline” Crack?
A hairline crack is:
- Narrower than 1/8 inch (3 mm)
- Usually vertical or diagonal
- Often found near corners or window wells
- Caused by normal settling or shrinkage
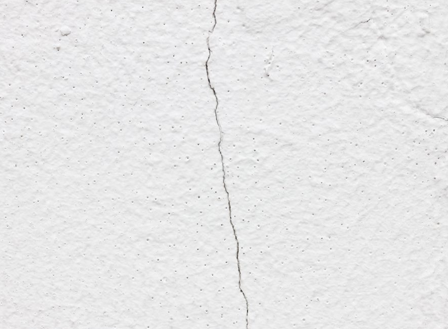
These cracks do not affect structural integrity but they can allow moisture to seep through — leading to dampness, musty smells and efflorescence,
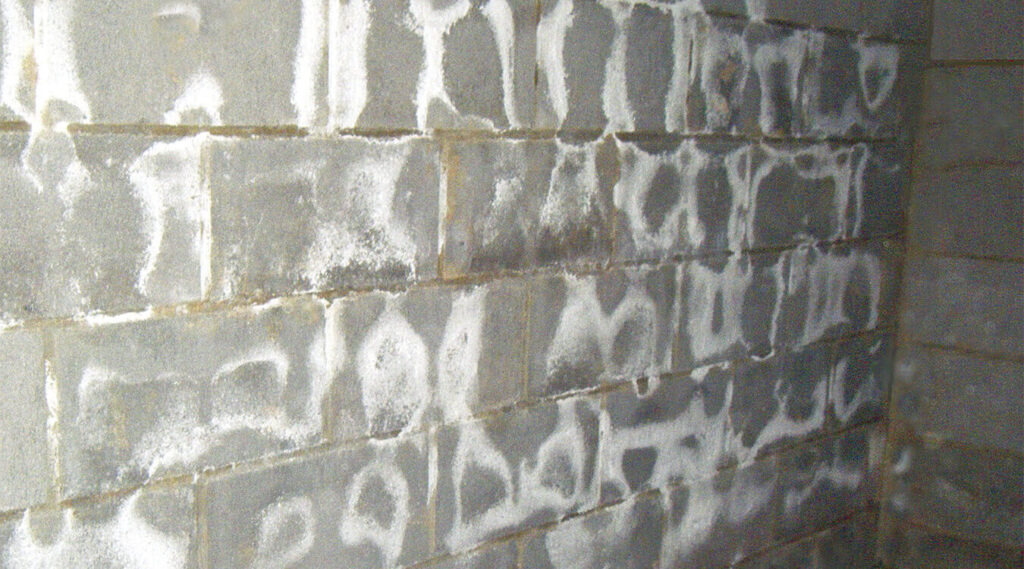
Efflorescence
is a white crystalized substance that leeches in water through small cracks in the basement wall.
Signs Your Crack Is Non‑Structural
- It’s thin and consistent from block to block
- It doesn’t widen at the top or bottom
- There’s no inward bowing
- There’s no crumbling concrete
- There’s no rust on rebar
- There’s no active water leak
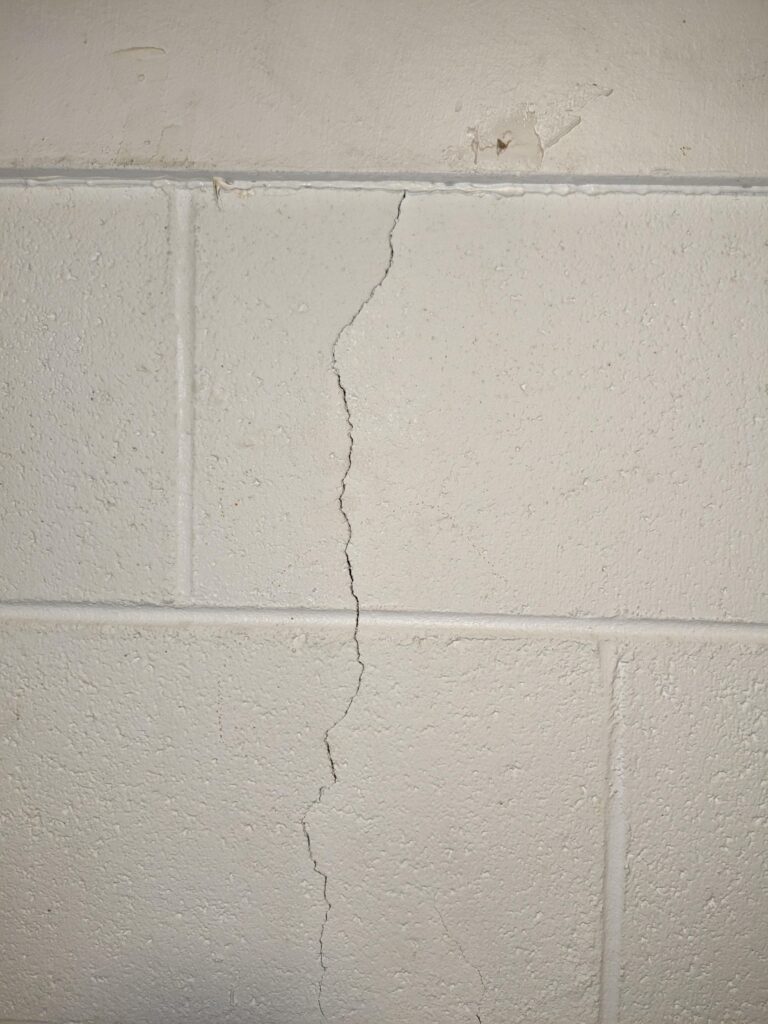
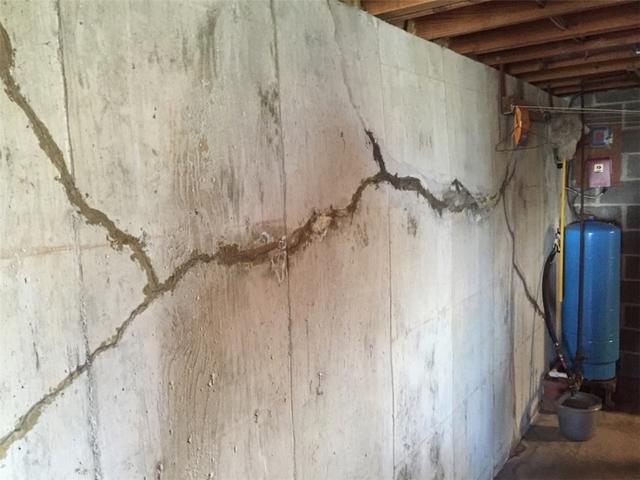
If your crack is
Wider, horizontal or bowing,
Like the one to the side, it is likely a structural issue and more serious, , seek professional help
Other Signs of Structural
- Stair‑step shaped
- Actively leaking and growing over time
- Showing rebar rust stains
- Accompanied by bowing walls
Tools & Materials you could need
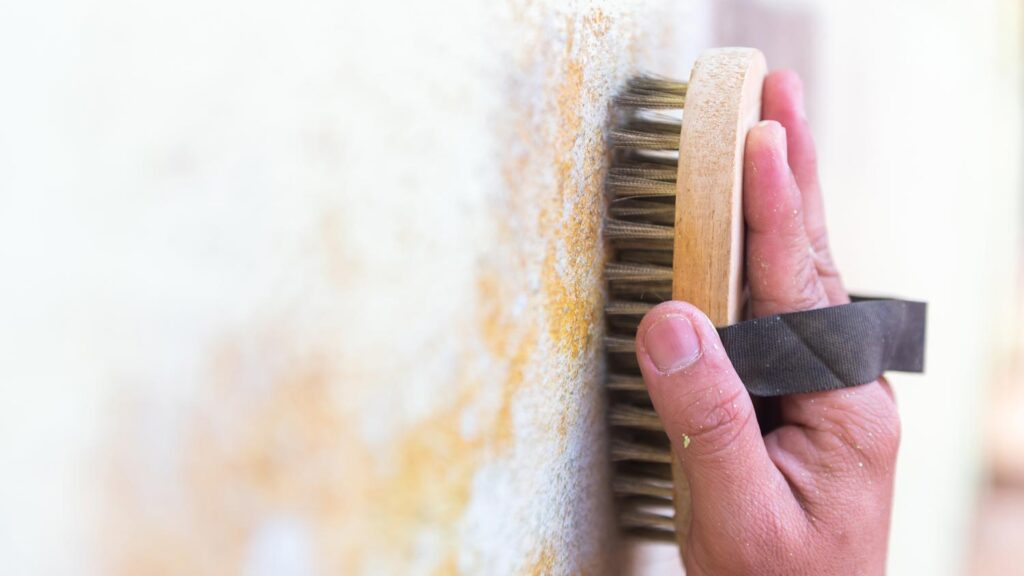
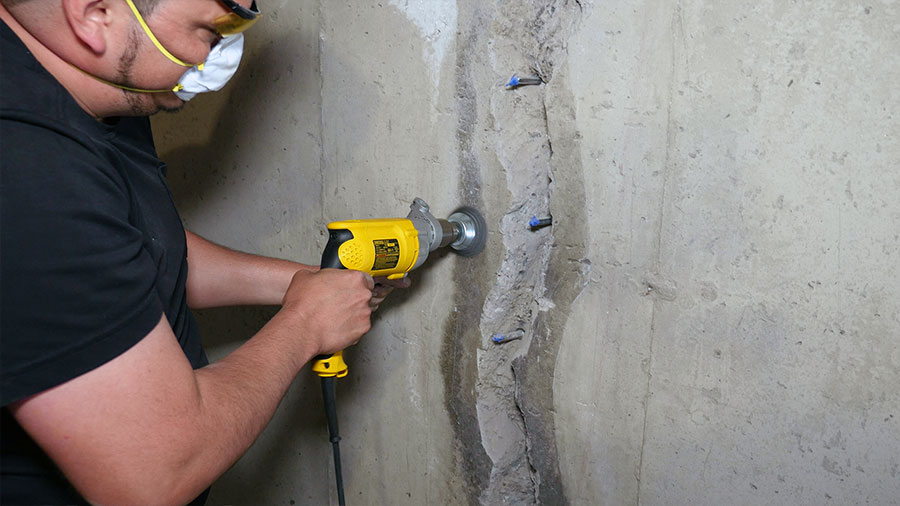
- Wire brush or wire wheel on a drill
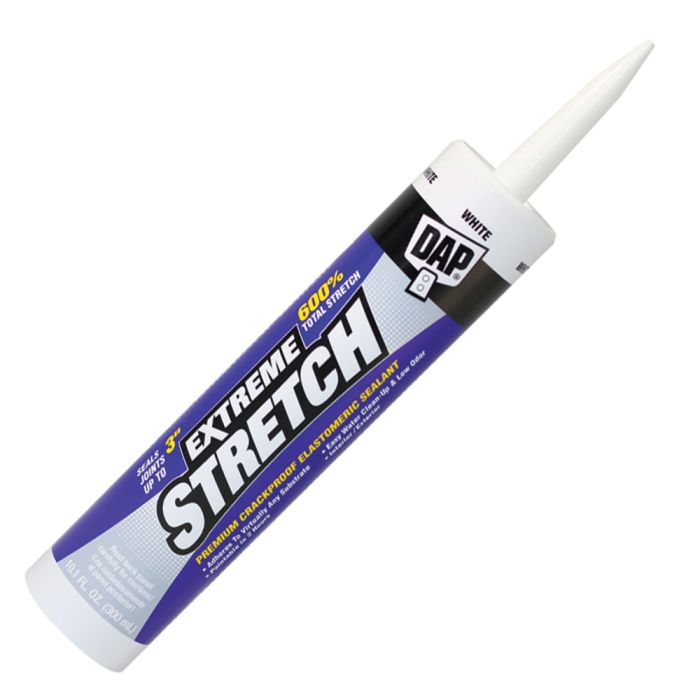
- Polyurethane concrete crack filler
- Shop vacuum
- Caulking gun
- Clean rag
- Putty knife
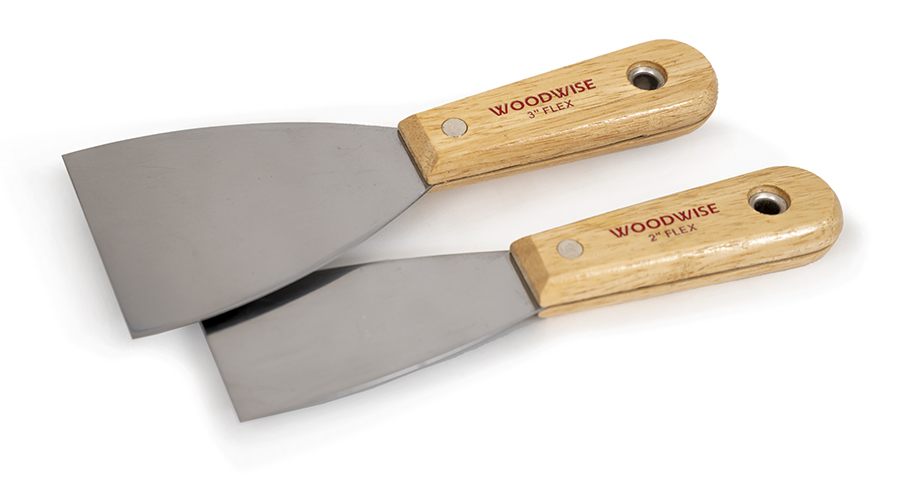
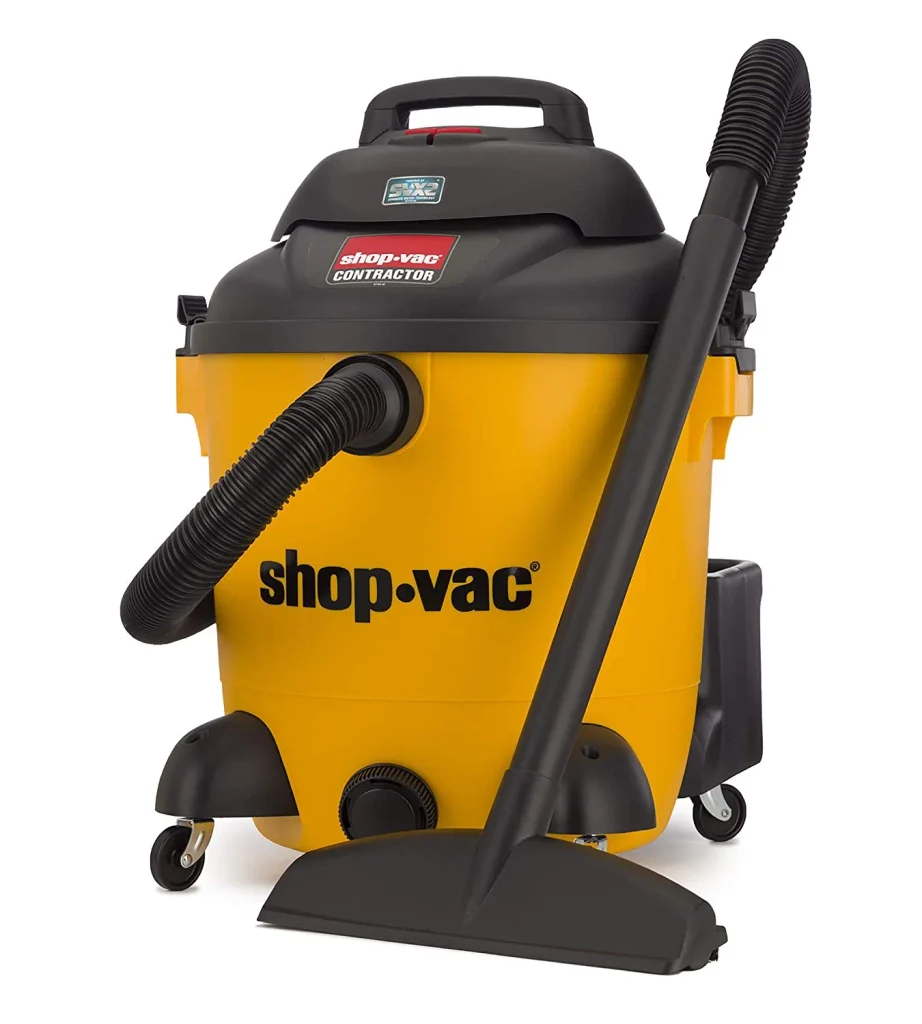
Polyurethane is superior to silicone for structural crack filling because it bonds stronger, handles movement better, and is fully paintable. Silicone is for waterproofing not structural repair.

How to Seal a Hairline Foundation Crack
Step 1 – Clean the Crack Thoroughly
Using a wire brush to remove:
- Dust
- Efflorescence
- Loose concrete
- Paint residue
- Vacuum the crack so the filler adheres properly.
Using water to clean the crack is not necessary and can cause lack of adhesion. However, moldy material or insect larva in the crack should be cleaned throughly with water
Step 2 — Dry the Area Completely
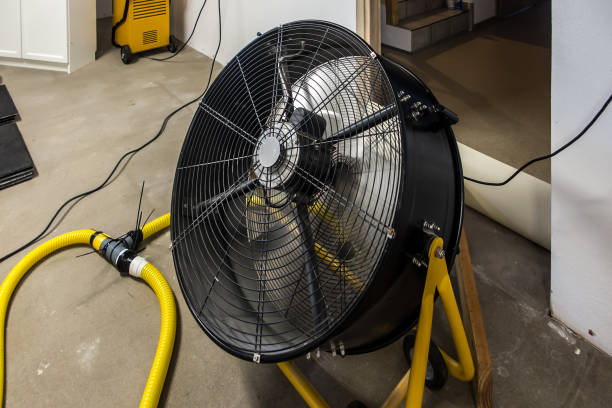
Which can take a few hours or longer, depending on room humidity
- a fan is best and quickest
- Natural airflow and dehumidifier if you have one
Step 3 – Apply Polyurethane Crack Filler
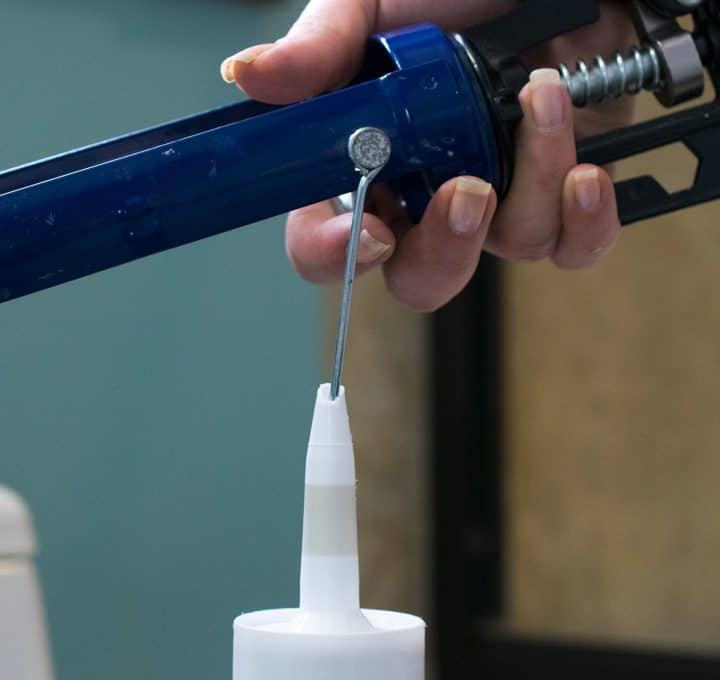
Load the tube into a caulking gun, cut the end of the tube pierce the inner seal with the provided wire
Step 4 – Apply filler
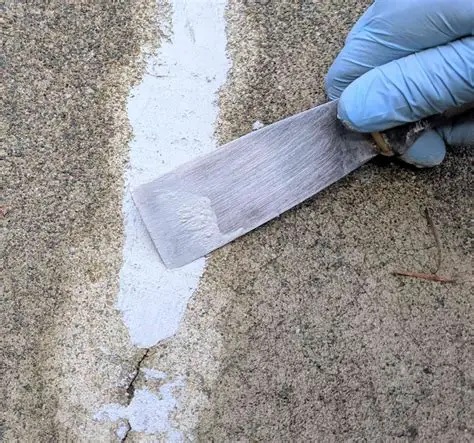
- directly into the crack
- Allowing it to penetrate deeply
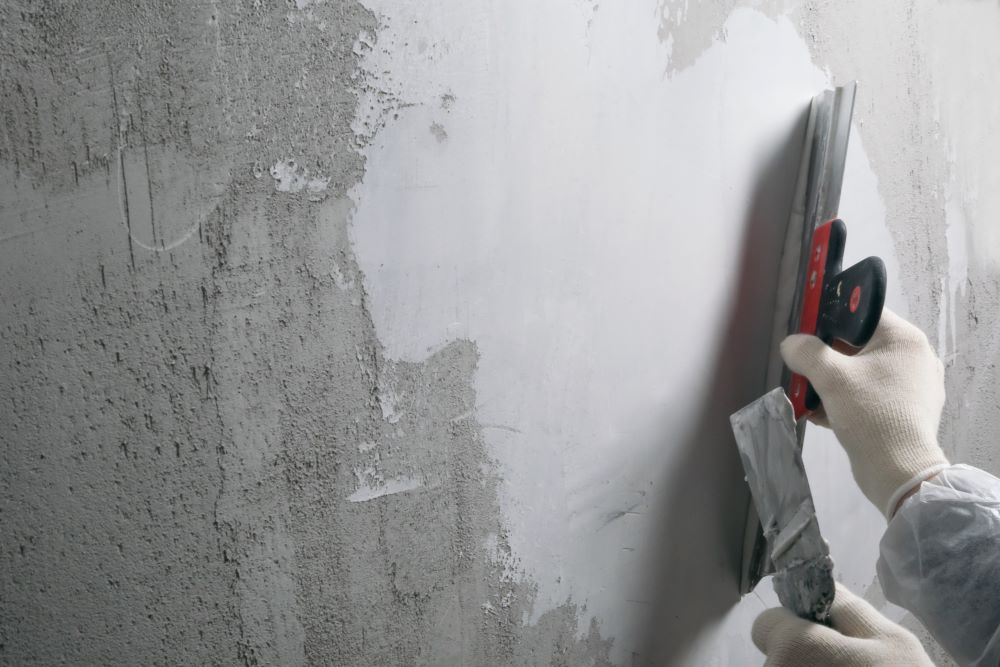
- Use a putty knife to smooth and flatten the bead
- This step is cosmetic but makes the repair look professional.
- Remove excess filler to create a clean finish
Step 5 — Curing time varies:
- Polyurethane: 4–8 hours
- Epoxy: 12–24 hours
Avoid touching the area until fully cured.
Step 6 — Inspect for Moisture
After curing and concrete drying out, check the area for:
- Dampness
- New cracks
These may indicate structural movement or hydrostatic pressure.
If moisture persists, you may need exterior grading or downspout adjustments. See Grading Problems.
If your crack is sealed but moisture persists consider:
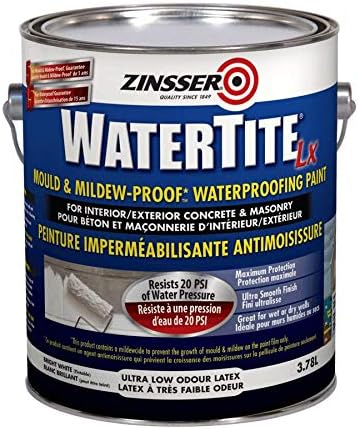
- Waterproofing paint
- Dehumidification