Ontario Home fixes Guide
Drafty windows are uncomfortable and an energy‑loss problem in many Ontario homes, especially older townhouses and rentals. Most drafts are easy to diagnose and fix with simple tools and inexpensive materials.
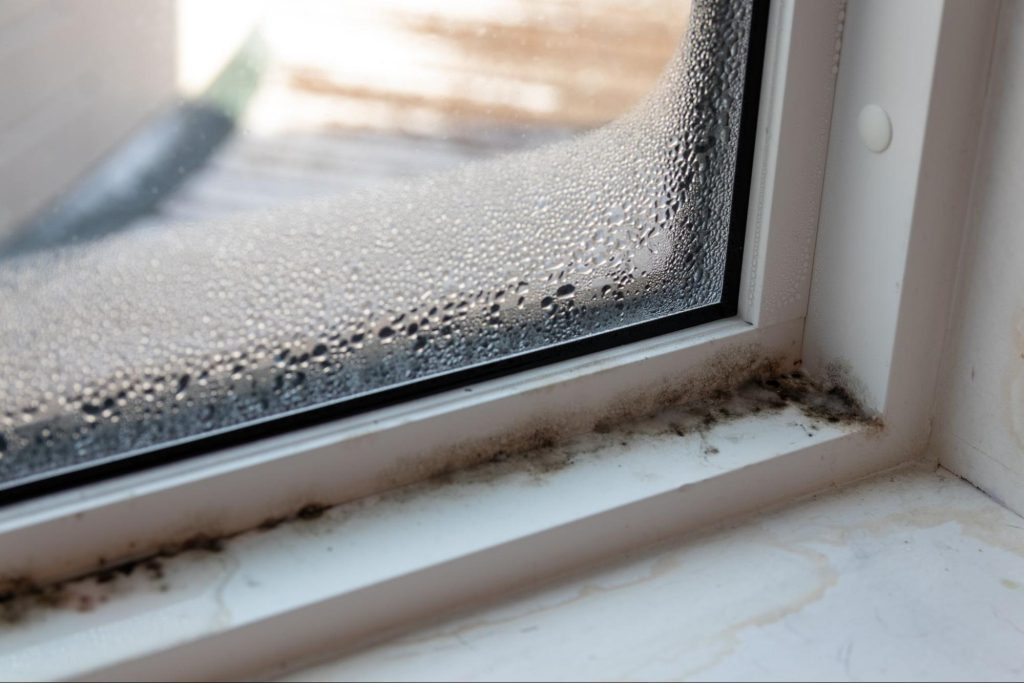
This guide shows you how to identify the source of a window draft, replace it with similar material and seal it properly for year‑round comfort.
Why Window Drafts Happen
Drafts occur when outside air leaks into your home through gaps around the windows and door frames. This occurs over time due to freeze thaw cycles that cause an expansion and contraction of the existing weather stripping and thus deterioration
You may have a draft, if you notice:
- Cold air near the window
- Curtains moving slightly
- Whistling sounds during wind
- Frost buildup in winter
- Condensation on glass
- Higher heating bills
- Visible gaps or cracks
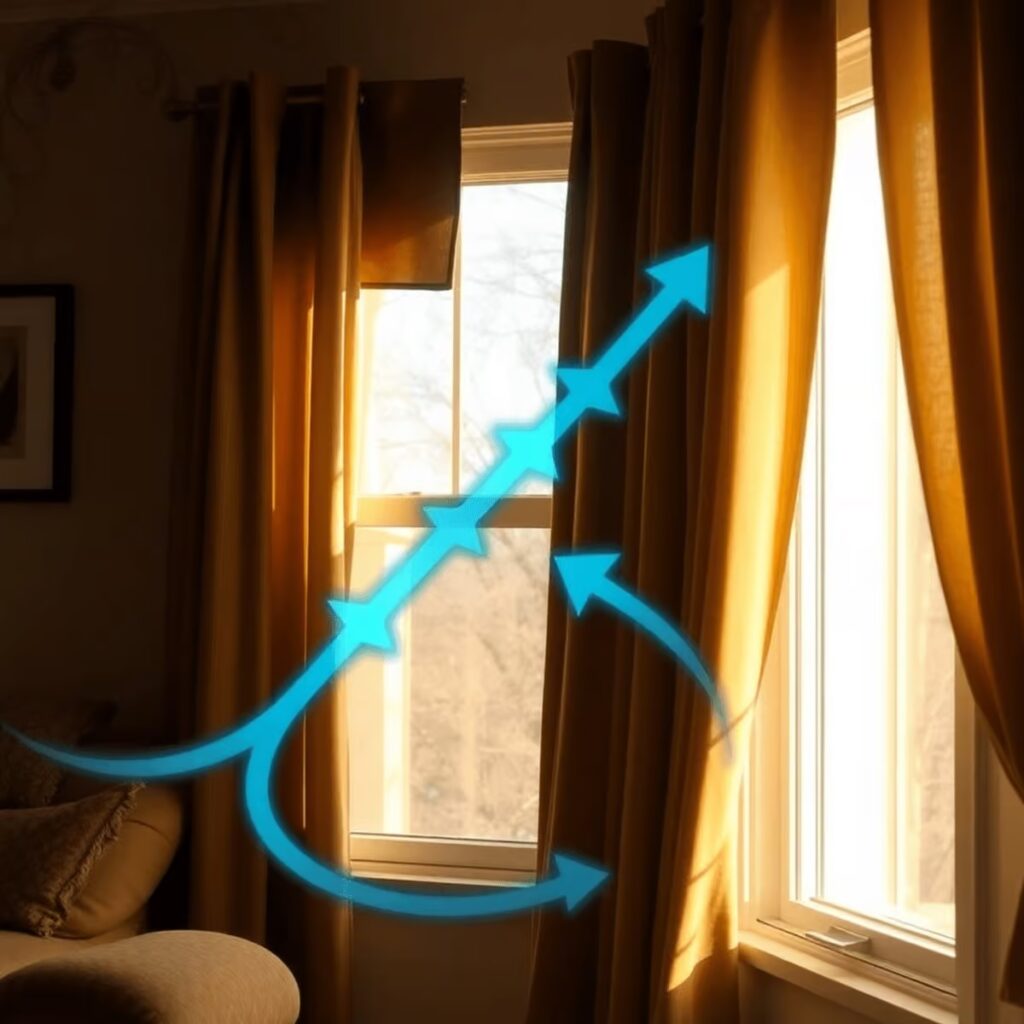
Look closer for
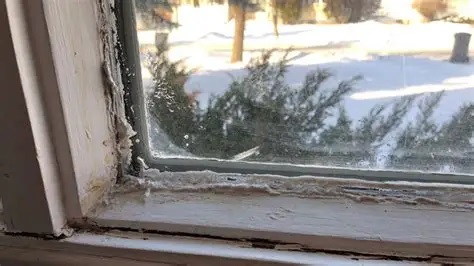
- Shrinking caulking
- Cracked or missing weather stripping
- Loose window frames
- Poor installation
- Warped wood from humidity
- Gaps between trim and drywall
- Old single‑pane windows
If you own the house, there are times when replacing the windows, rather than the weather stripping, would be a more thermally efficient and equity building decision for when you sell
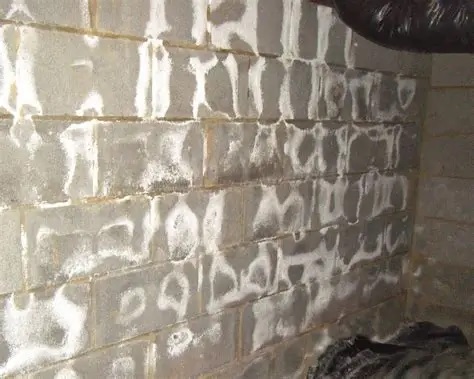
If you see Efflorescence,
It is a white calcium salt in masonry that gradually drains out to the surface during water leaks. If your checking drafts in the bsmt or have concrete walls on the main floor with ground behind and water pooling, you might see these type of deposits
How to Diagnose Window Drafts
Step 1 — Use the Hand Test
If its the cold season run your hand slowly around the window frame, if you feel cold air, you’ve found a leak. This is less obvious in the warmer weather and with AC you may experience warmer air drafting into the house. Mark the spots with a piece of masking tape for easy finding later.
Step 2 — Do a visual check of all doors and windows inside and out looking for;
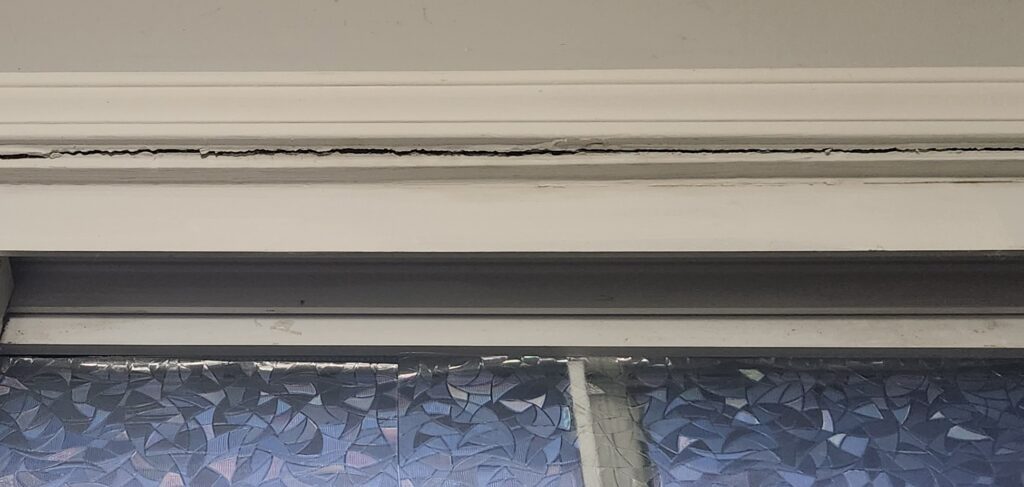
- Caulking that’s broken, cracked or missing
- Brittle rubber
- Gaps
- Missing or mottled existing stripping
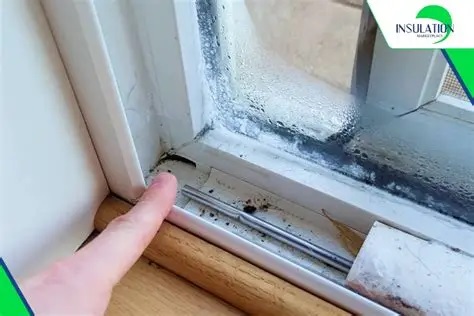
Step 3 — Feel outer molding around windows for cold, as sometimes insulation between window and securing studs shrinks or was not installed properly

Step 4- Taking close up pictures of the cracks and worn weather stripping with a smart phone will insure a much easier time when trying to match and buy replacement parts
Step 5- Tools & Materials You COULD Need
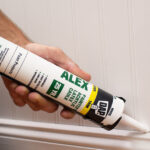
- Latex Acrylic caulking is used mostly indoor between non moving surfaces, It thermally insulates cracks and allows smooth visual transfer between moldings and walls, it is easily beveled with your finger, paintable, and cleans up easily with water and a rag,
- Silicone caulking (pure)- is water proof and used mostly for kitchen, bath, and exterior gaps It is extremely durable when installed properly is NON-paintable and cleans up only with mineral spirits and disposable towel, it also comes in a mildew resistant formula, Do not bevel the bead with dry fingers, dip a finger in a small dish of soapy dish water, to act as a slippery agent between you and the caulking
- Latex Silconized/ Acrylic caulking is a mix between pure silicon, acrylic and latex and offers, paint ability, moderate moisture resistance and flexibility, however; it is a compromise between latex and pure silicone
- Spray foam- USE ONLY window and door foam as, it’s expansion is in the path of least resistance and wont crack or jam your moving parts. Regular foam expands equally in all directions and can seize up moving parts and crack the glass
- Caulking gun, Sanding block (fine grit), Utility knife, Paper towel
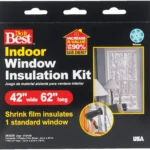
- Window insulation film is used to improve the thermal barrier of deteriorated windows and can save money later. however its an increased cost, labor intensive and requires a hair dryer.
There are many other types of caulking; Mildew resistant, Polyurethane, Polymer, Butyl Rubber, Fire Block and more, however, latex and silicon are the ones you’ll deal with mostly in your house



Types of Weather Stripping
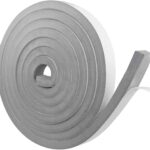
- Foam Tape
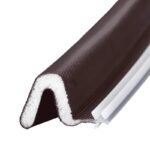
- V‑strip, compression seals, tension seal
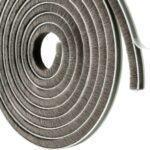
- Felt or pile strips
- Door sweeps, door shoes, and frost brake thresholds
- Magnetic seals
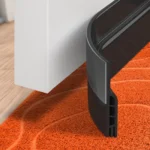

Summary of steps;
- You’ve found the drafts and worn weatherstripping
- You’ve taken close up pictures of the damaged and worn areas
- You’ve bought replacement parts at the hardware store according to the pictures
- And now your ready to install the weather stripping and caulking
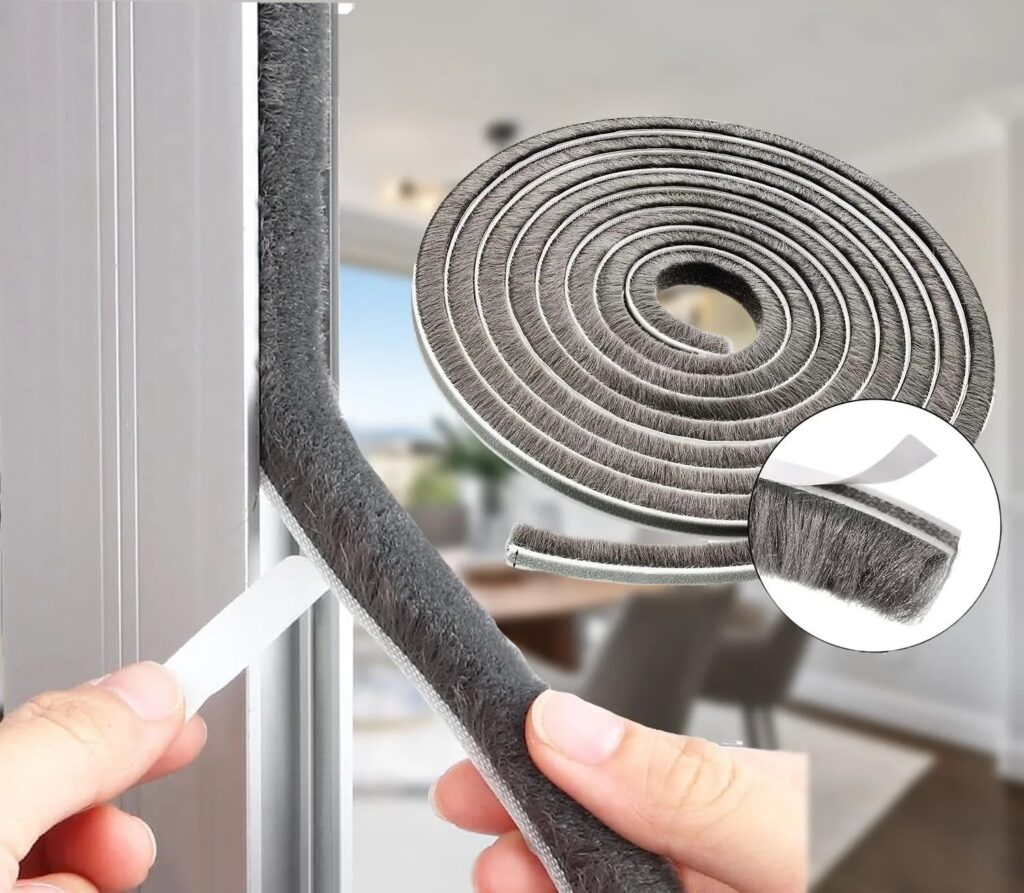
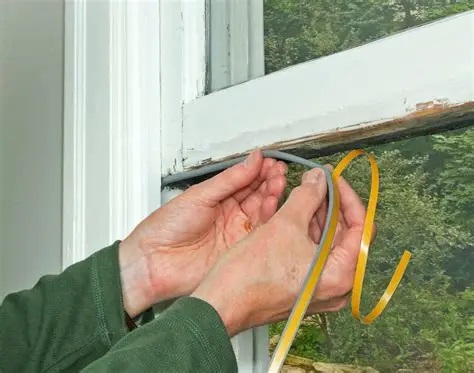
Remove old weather stripping, clean the track and install the new stripping. Some scraping and digging may be required
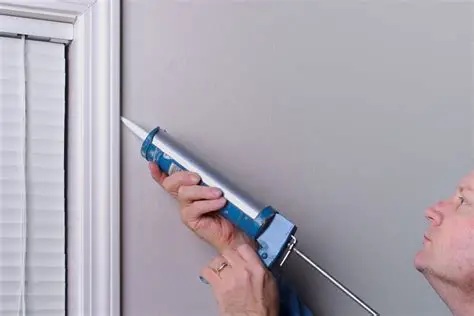
Latex acrylic caulking for the interior cracks, bevel with your finger and clean up with a damp rag
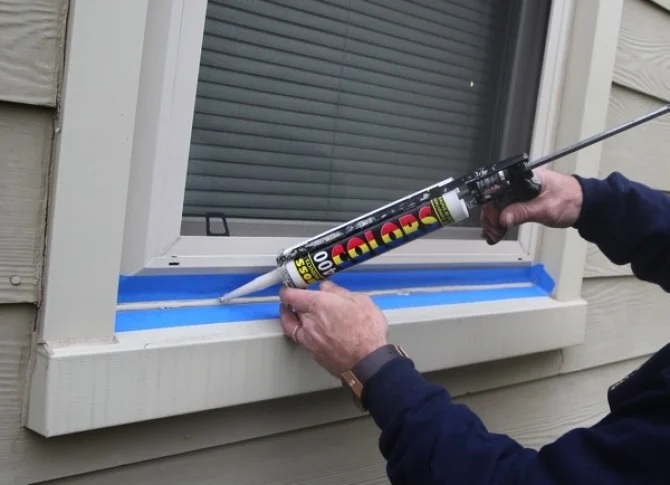
Use silicon caulking for the outdoor window frame ensuring a clean bead against the cladding. Using masking tape will give a cleaner look but takes more time. If you need to bevel the caulking, dip your finger in dish soap and water to allow for a slippery glide.
Key points to remember
Measure the Gap (Critical Step Most People Skip)
Weatherstripping only works if the gap matches or is close to the material.
- 0–1 mm → pile or fin‑seal
- 1–3 mm → V‑strip or spring bronze
- 3–6 mm → compression bulb or tubular rubber
- 6+ mm → foam tape or rebuild the frame
Use a feeler gauge or slip paper into the gap and estimate thickness.
Identify the Door/Window Type
Different units move differently — and that dictates the seal.
- Hinged doors → need compression + sweep
- Casement/awning windows → compression gaskets
- Double‑hung windows → V‑strip
- Sliding windows/doors → pile/fin‑seal
- Old wood windows → spring bronze or V‑strip
When Drafts Indicate a Bigger Problem
Call a professional if you notice:
- Mold around the frame
- Rotting wood
- Water leaks
- Warped window sashes
- Cracked glass
- Persistent drafts despite sealing
These may indicate structural or installation issues.